Where to place corals in a reef tank
Place corals by light, flow, aggression, growth shape, and room for future colonies.
Small tanks can be beautiful and stable, but the margin is thinner. The equipment plan has to stay honest.
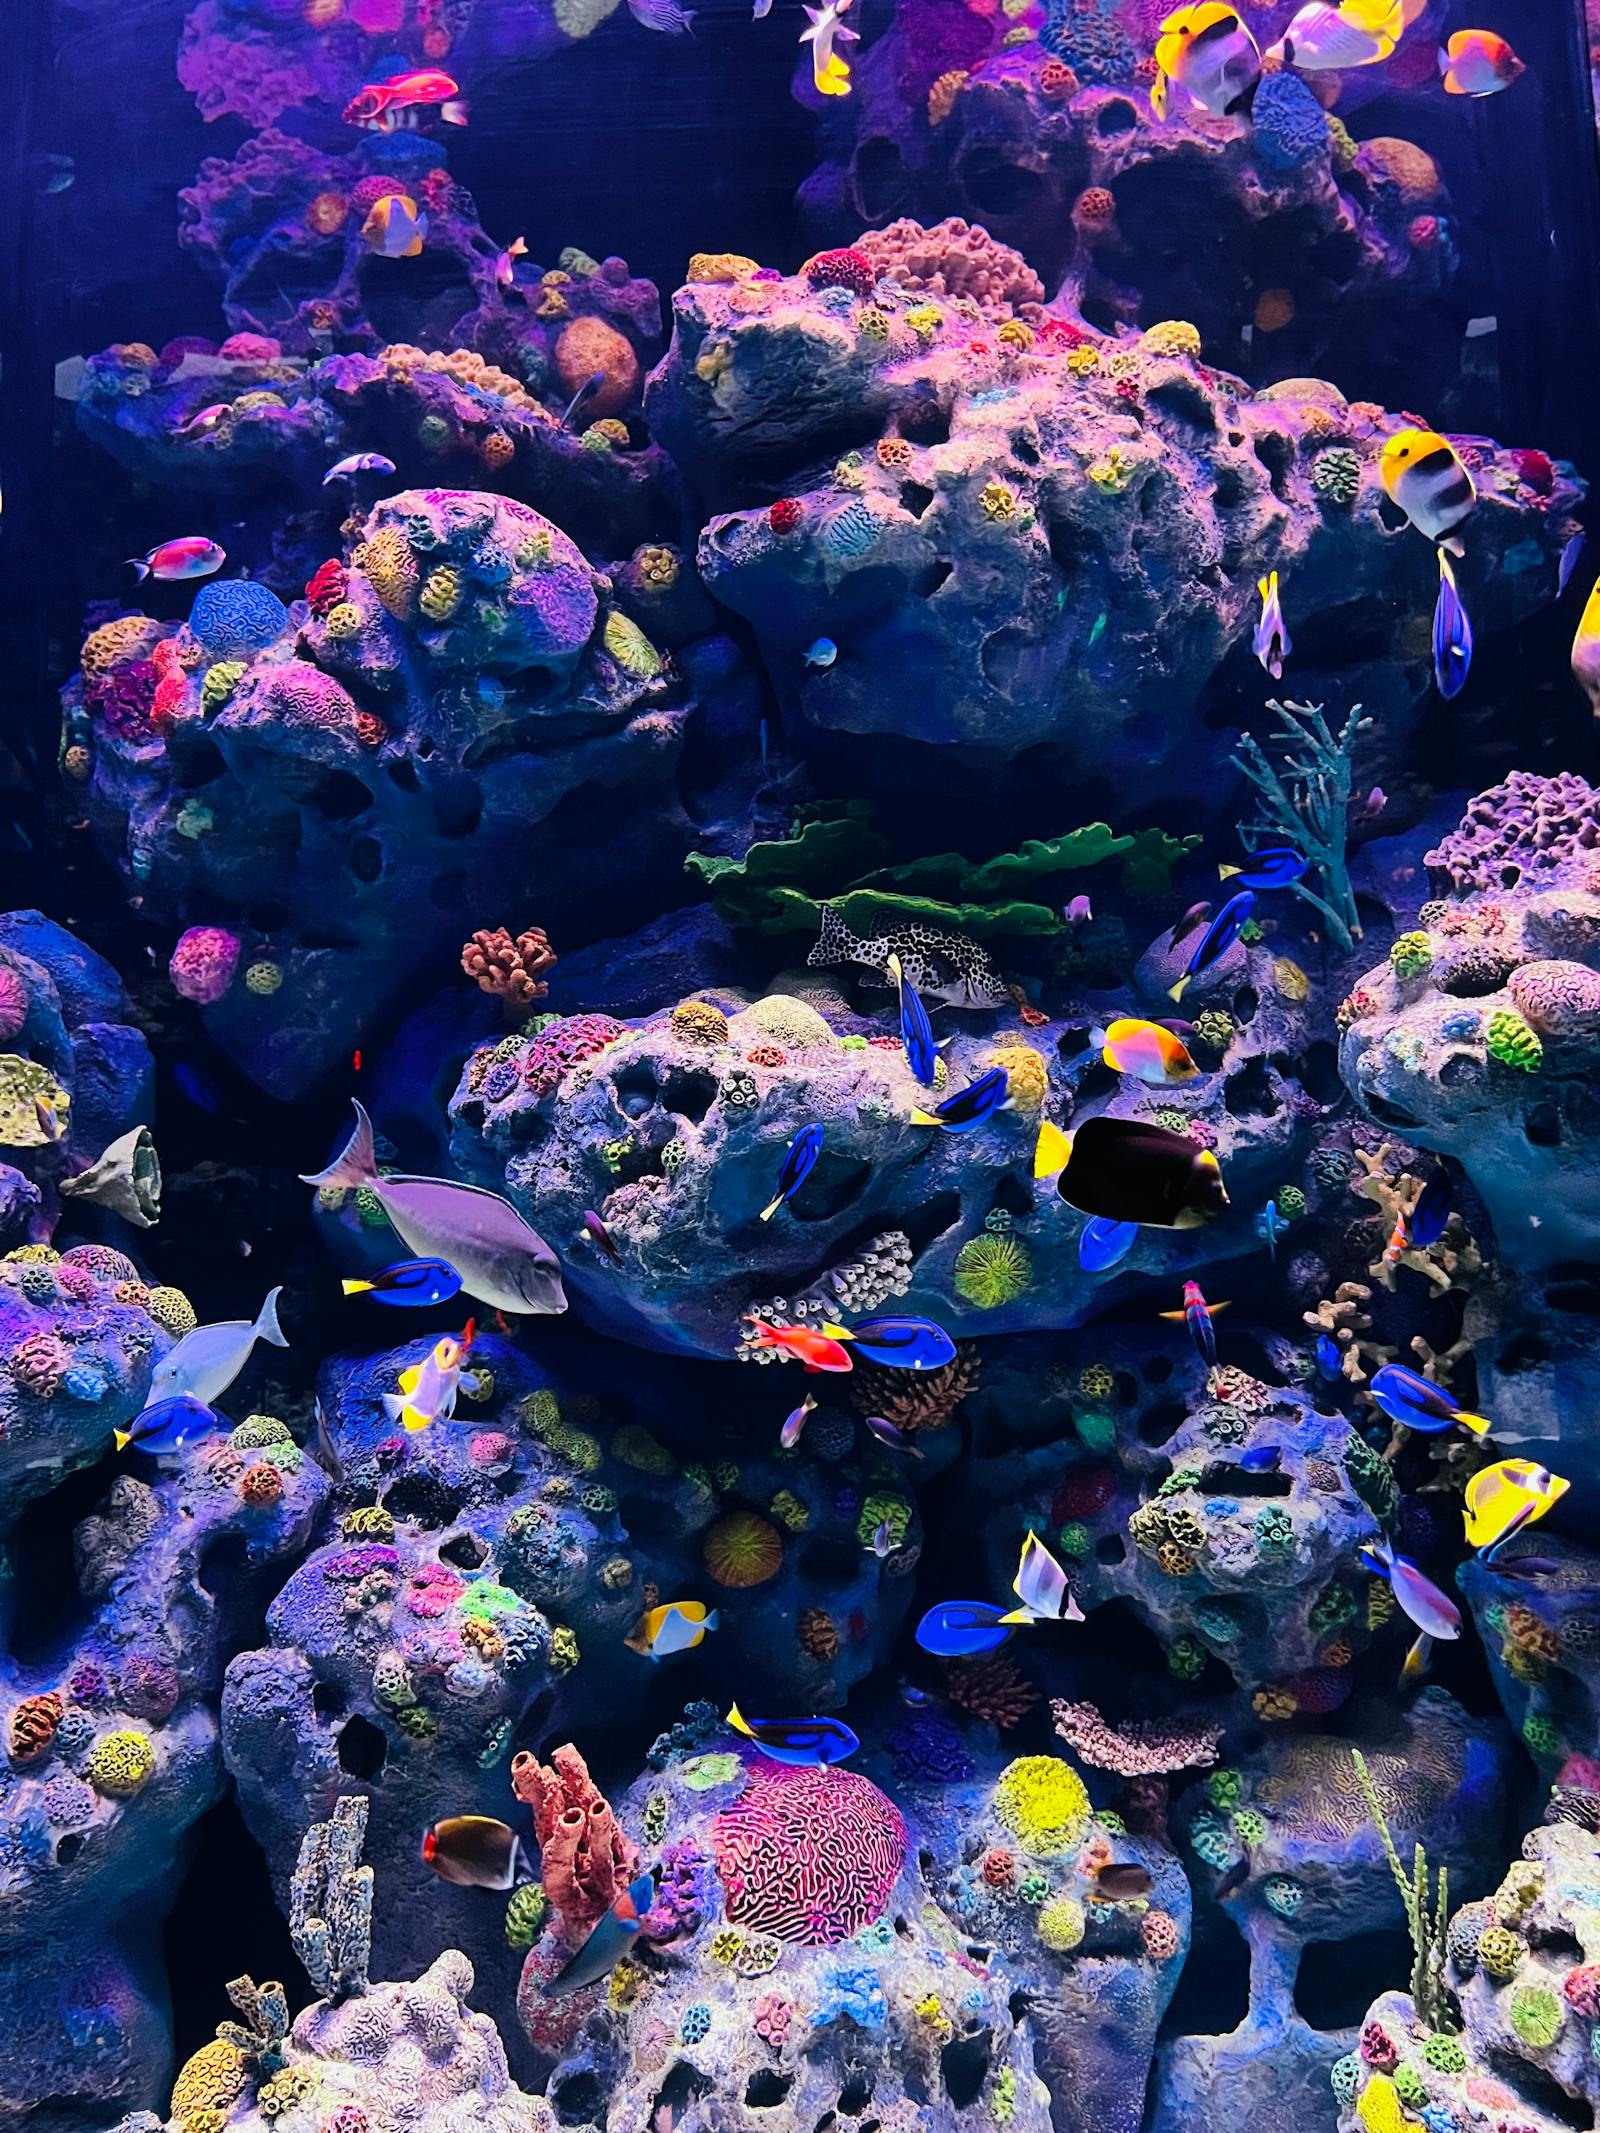
Image: Photo via PexelsPlace coral by need, not by how good the frag looks today. Match PAR and flow, leave room for sweepers or encrusting growth, and put demanding coral only where the tank has proven stable.
For coral placement, treat the animal plan as a build constraint. Tank size, maturity, aggression, and feeding pressure should decide the pace before the wish list does.
Quick check
- 1Group corals by light and flow zone.
- 2Leave space for growth, sweeper tentacles, and shading.
- 3Keep new frags movable until they show a good response.
- 4Do not use SPS as a readiness test for an immature system.
Run the connected calculator
This guide's rule math is available as an interactive check. Adjust gallons, goal, tier, and bioload, then pass the result into the planner.
For this goal, use the 150-250 PAR band and cover the full 864 sq in footprint.
The math, in plain English
Decision signal
Sizing ruleExample: Group corals by light and flow zone.
This keeps the guide tied to the page topic instead of borrowing unrelated equipment math.
Risk check
Sizing ruleExample: Leave space for growth, sweeper tentacles, and shading.
This keeps the guide tied to the page topic instead of borrowing unrelated equipment math.
Next constraint
Sizing ruleExample: Keep new frags movable until they show a good response.
This keeps the guide tied to the page topic instead of borrowing unrelated equipment math.
- Placement fit = PAR band + flow band + aggression space + maturity
- Mixed reefs need zones, not one average setting
- Growth room prevents future coral warfare
Keep the decision connected
What coral zone planning really means
Where to place corals in a reef tank is a system decision, not an isolated fact. ReefCrafter ties the answer back to tank size, livestock pressure, equipment margin, and the failure mode most likely to punish the build.
How to make the decision
Start with the observable result, then check the surrounding inputs. If the plan depends on coral zone planning, confirm the tank, gear, and routine can support it before buying another product or animal.
- Group corals by light and flow zone.
- Leave space for growth, sweeper tentacles, and shading.
- Keep new frags movable until they show a good response.
- Do not use SPS as a readiness test for an immature system.
When to slow down
Slow down when the fix would hide placing by color instead of requirements. A reef tank usually improves faster when the root cause is removed than when the symptom is forced to disappear.
Common mistakes
- Treating coral zone planning as a one-product problem.
- Ignoring placing by color instead of requirements because the tank looks acceptable today.
- Changing several variables at once and losing the ability to see what helped.
- Using a generic recommendation without checking tank size, livestock, and equipment margin.
Buying/spec checklist
- The relevant calculator or guide has been checked before purchase.
- The plan fits current livestock and the next realistic livestock step.
- The maintenance routine can support the choice after the first week.
- The product or animal has a clear job in the build.
ReefCrafter may earn a commission when vendor links are used. The check comes first: recommendations should follow the build requirements, not the affiliate program.
FAQ
Can the planner replace observation?
No. ReefCrafter catches sizing, compatibility, and planning risk. Daily animal behavior, test trends, and equipment condition still decide whether the tank is actually stable.
Should beginners fix this with a product first?
Usually no. Identify the cause, confirm the measurement, and then decide whether husbandry, stocking pace, or equipment is the right fix.