Reef controller setup guide for useful safety
Use a reef controller for real safety: heater cutoff, alerts, pump control, and monitoring without replacing husbandry.
The quiet gear under the tank is where many first-build mistakes hide: skimmer room, return flow, heater placement, and service access.
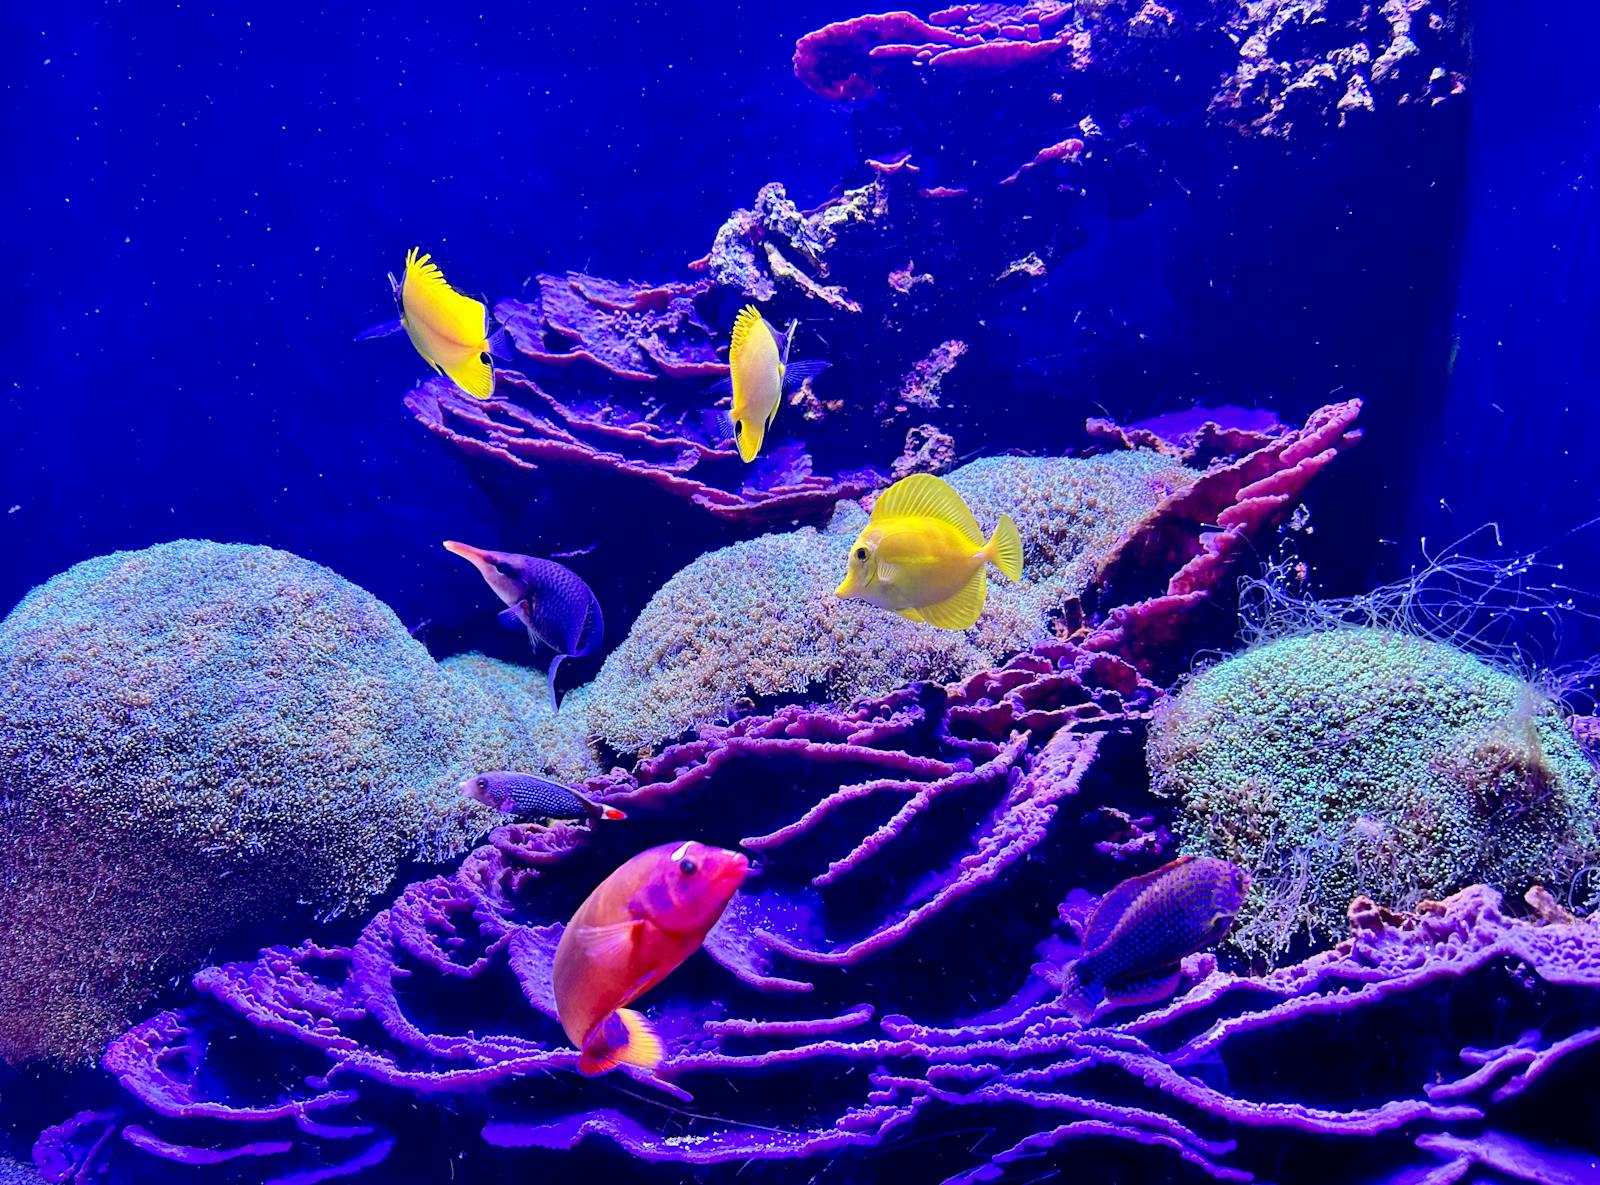
Image: Photo via PexelsA reef controller is most valuable when it covers a specific failure mode. Start with temperature cutoff and alerts, then add ATO, dosing, pH, leak, and pump logic only when the build actually benefits.
For controller setup, I would buy around the failure mode first: salinity drift, stuck-on heat, missed alerts, clogged media, or service access. The right gear has a clear job.
Quick check
- 1Put heater shutoff and alerting first.
- 2Name outlets clearly so emergency actions are obvious.
- 3Avoid automating dosing before testing demand is stable.
- 4Test alarm delivery and fail states before leaving the tank unattended.
Run the connected calculator
This guide's rule math is available as an interactive check. Adjust gallons, goal, tier, and bioload, then pass the result into the planner.
Use two heaters around 95 W each, preferably controller-backed.
The math, in plain English
Decision signal
Sizing ruleExample: Put heater shutoff and alerting first.
This keeps the guide tied to the page topic instead of borrowing unrelated equipment math.
Risk check
Sizing ruleExample: Name outlets clearly so emergency actions are obvious.
This keeps the guide tied to the page topic instead of borrowing unrelated equipment math.
Next constraint
Sizing ruleExample: Avoid automating dosing before testing demand is stable.
This keeps the guide tied to the page topic instead of borrowing unrelated equipment math.
- Controller value = monitored risk + reliable alert + controlled response
- Heater risk rises with total watts per gallon
- Automation should reduce risk before it adds complexity
Keep the decision connected
What controller safety really means
Reef controller setup guide for useful safety is a system decision, not an isolated fact. ReefCrafter ties the answer back to tank size, livestock pressure, equipment margin, and the failure mode most likely to punish the build.
How to make the decision
Start with the observable result, then check the surrounding inputs. If the plan depends on controller safety, confirm the tank, gear, and routine can support it before buying another product or animal.
- Put heater shutoff and alerting first.
- Name outlets clearly so emergency actions are obvious.
- Avoid automating dosing before testing demand is stable.
- Test alarm delivery and fail states before leaving the tank unattended.
When to slow down
Slow down when the fix would hide automation without a clear failure mode. A reef tank usually improves faster when the root cause is removed than when the symptom is forced to disappear.
Common mistakes
- Treating controller safety as a one-product problem.
- Ignoring automation without a clear failure mode because the tank looks acceptable today.
- Changing several variables at once and losing the ability to see what helped.
- Using a generic recommendation without checking tank size, livestock, and equipment margin.
Buying/spec checklist
- The relevant calculator or guide has been checked before purchase.
- The plan fits current livestock and the next realistic livestock step.
- The maintenance routine can support the choice after the first week.
- The product or animal has a clear job in the build.
ReefCrafter may earn a commission when vendor links are used. The check comes first: recommendations should follow the build requirements, not the affiliate program.
FAQ
Can the planner replace observation?
No. ReefCrafter catches sizing, compatibility, and planning risk. Daily animal behavior, test trends, and equipment condition still decide whether the tank is actually stable.
Should beginners fix this with a product first?
Usually no. Identify the cause, confirm the measurement, and then decide whether husbandry, stocking pace, or equipment is the right fix.