Check your reef build before buying
A pre-buy reef tank checklist for catching weak gear, missing essentials, and expensive mismatches before checkout.
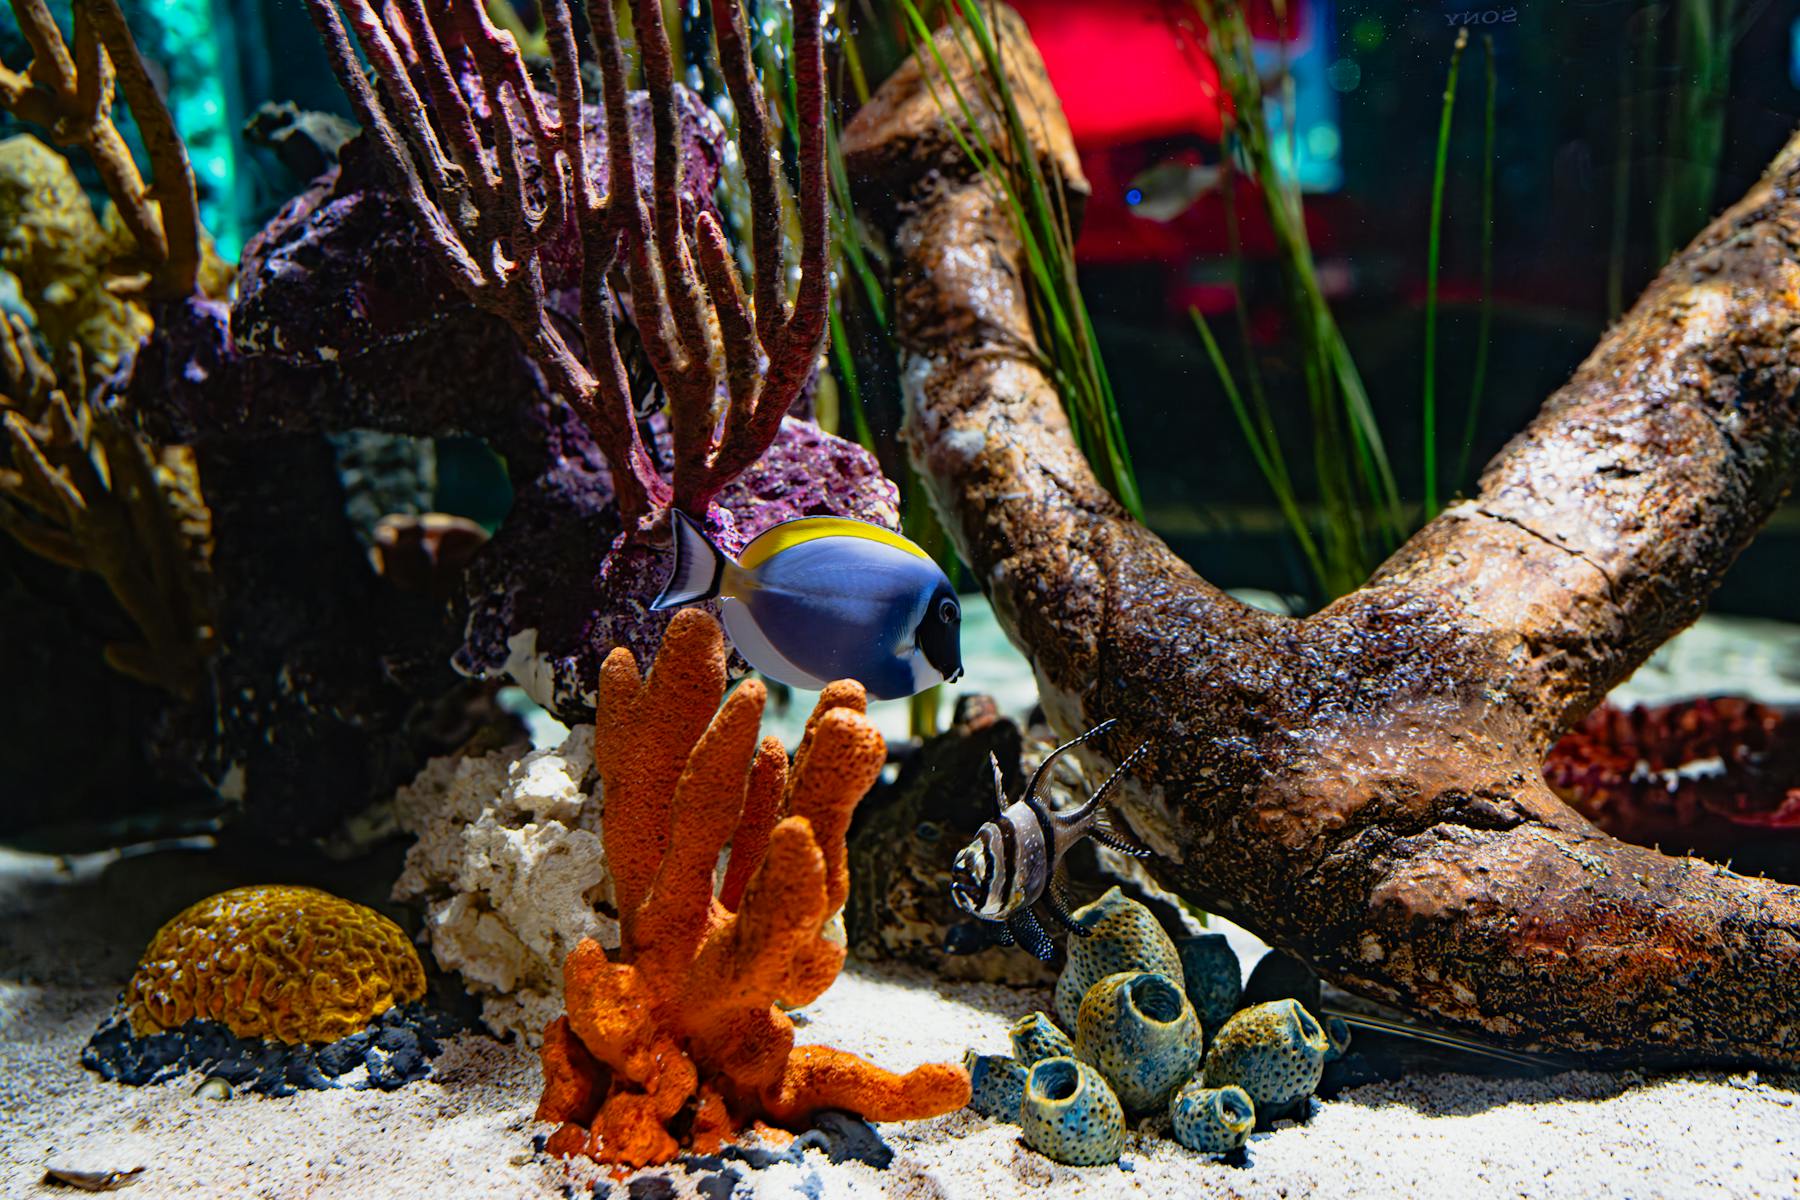
A mature reef makes the planning problem obvious: light, flow, livestock, and equipment all have to agree with each other.
Image: Photo via PexelsBefore buying reef gear, check the build as a system: tank size, reef goal, skimmer capacity, flow target, lighting coverage, heater safety, return-pump sizing, ATO, floor load, and upgrade path. The expensive mistakes usually happen between categories, not inside one product listing.
The question I want this page to answer is simple: what would make me regret this cart in three months? If the answer is light spread, weak flow, a risky heater, or missing RODI/testing, fix that before checkout.
Quick check
- 1Pick the reef goal before choosing lights, flow, and filtration.
- 2Check skimmer rating against bioload, not just gallons.
- 3Check flow from powerheads, not only return-pump GPH.
- 4Check lighting against footprint and coral PAR target.
- 5Check heater wattage, redundancy, ATO, and large-tank floor load.
Run the connected calculator
This guide's rule math is available as an interactive check. Adjust gallons, goal, tier, and bioload, then pass the result into the planner.
Light, medium, and heavy targets are 113, 150, and 188 gallons of skimmer rating.
Use two heaters around 95 W each, preferably controller-backed.
The 20-40x band gives 1,500-3,000 GPH before aquascape and pump placement.
That aims to deliver 375-750 GPH after about 50% plumbing loss.
For this goal, use the 150-250 PAR band and cover the full 864 sq in footprint.
Monthly consumables often land around $60-$120 before livestock surprises or upgrades.
The math, in plain English
Skimmer check
Sizing ruleExample: 75g mixed reef x 2.0 = 150g skimmer rating target.
The multiplier follows bioload so a fish-heavy build does not get the same filtration margin as a light soft-coral tank.
Flow check
Sizing ruleExample: 75g mixed reef x 20 = 1,500 GPH useful display flow.
This catches underpowered display movement before dead spots become algae and detritus problems.
Heater check
Sizing ruleExample: 75g tank = about 188W to 375W total heater wattage.
The band balances temperature stability against stuck-on heater risk.
Return check
Sizing ruleExample: 95g system = 475 to 950 GPH delivered return flow.
This keeps sump turnover practical without asking the return pump to do every flow job in the display.
- Skimmer: display gallons x 1.5, 2.0, or 2.5 depending on bioload
- Flow: display gallons x 10, 20, or 40 depending on reef goal
- Heaters: total watts between display gallons x 2.5 and display gallons x 5.0
- Return pump: at least 5x display gallons after allowing for head-loss derating
Keep the decision connected
The best build check is cross-category
A cart can look reasonable one product at a time and still be wrong as a system. The light might be fine for soft corals but weak for the SPS goal. The skimmer might fit the gallons but not the fish load. The return pump might look powerful before head loss. ReefCrafter's content strategy exists for this moment: catch the mismatch before the receipt.
What to decide before shopping
Do not start with gear. Start with outcome, constraints, and tolerance for complexity. A forgiving AIO soft-coral build, a mixed reef, and an SPS-heavy sumped system are different products wearing the same hobby name.
- Reef goal: soft, LPS, mixed, SPS, FOWLR, or grow-out.
- Budget tier: budget, balanced, or premium.
- Tank format: AIO, sumped, peninsula, long, cube, or large display.
- Maintenance style: simple water changes, refugium, dosing, controller-heavy, or hands-off.
What to delay until the system is stable
Not every useful purchase belongs in the first cart. Dosing pumps, reactors, advanced controllers, and premium coral-specific upgrades can be smart later but distracting at launch. A strong first build buys stability, room to learn, and an upgrade path.
Common mistakes
- Choosing livestock first and discovering the tank is too small later.
- Buying lights for today's soft corals while planning tomorrow's SPS tank.
- Forgetting ATO, RODI, salt, test kits, mounting arms, lids, and backup parts.
- Using vendor bundles as if they are neutral compatibility checks.
- Letting one sale item force every other choice around it.
Buying/spec checklist
- The tank format fits the reef goal and room constraints.
- All core categories are accounted for: tank, light, flow, heat, filtration, water, testing, and top-off.
- Rule checks produce no blockers and explain any warnings.
- Every optional upgrade has a reason tied to the reef goal.
- Affiliate/vendor links are treated as checkout paths, not as the recommendation source.
ReefCrafter may earn a commission when vendor links are used. The check comes first: recommendations should follow the build requirements, not the affiliate program.
FAQ
What is the most common beginner buying mistake?
Buying gear in isolation. Reef tanks are systems. A light, skimmer, heater, and pump can all be good products and still be a bad combination for your specific tank.
Should I buy a complete bundle?
Bundles can be useful starting points, especially for AIO tanks, but you should still check the limits. Ask what coral goal the bundle really supports and which parts you will outgrow first.
Why does ReefCrafter avoid product rankings here?
The first decision is whether the build works. Product rankings come later, after the required specs are clear and affiliate coverage is strong enough to stay vendor-neutral.