Reef tank equipment list for a stable first build
A practical reef tank equipment list that separates must-have gear from optional upgrades before the first cart gets expensive.
The quiet gear under the tank is where many first-build mistakes hide: skimmer room, return flow, heater placement, and service access.
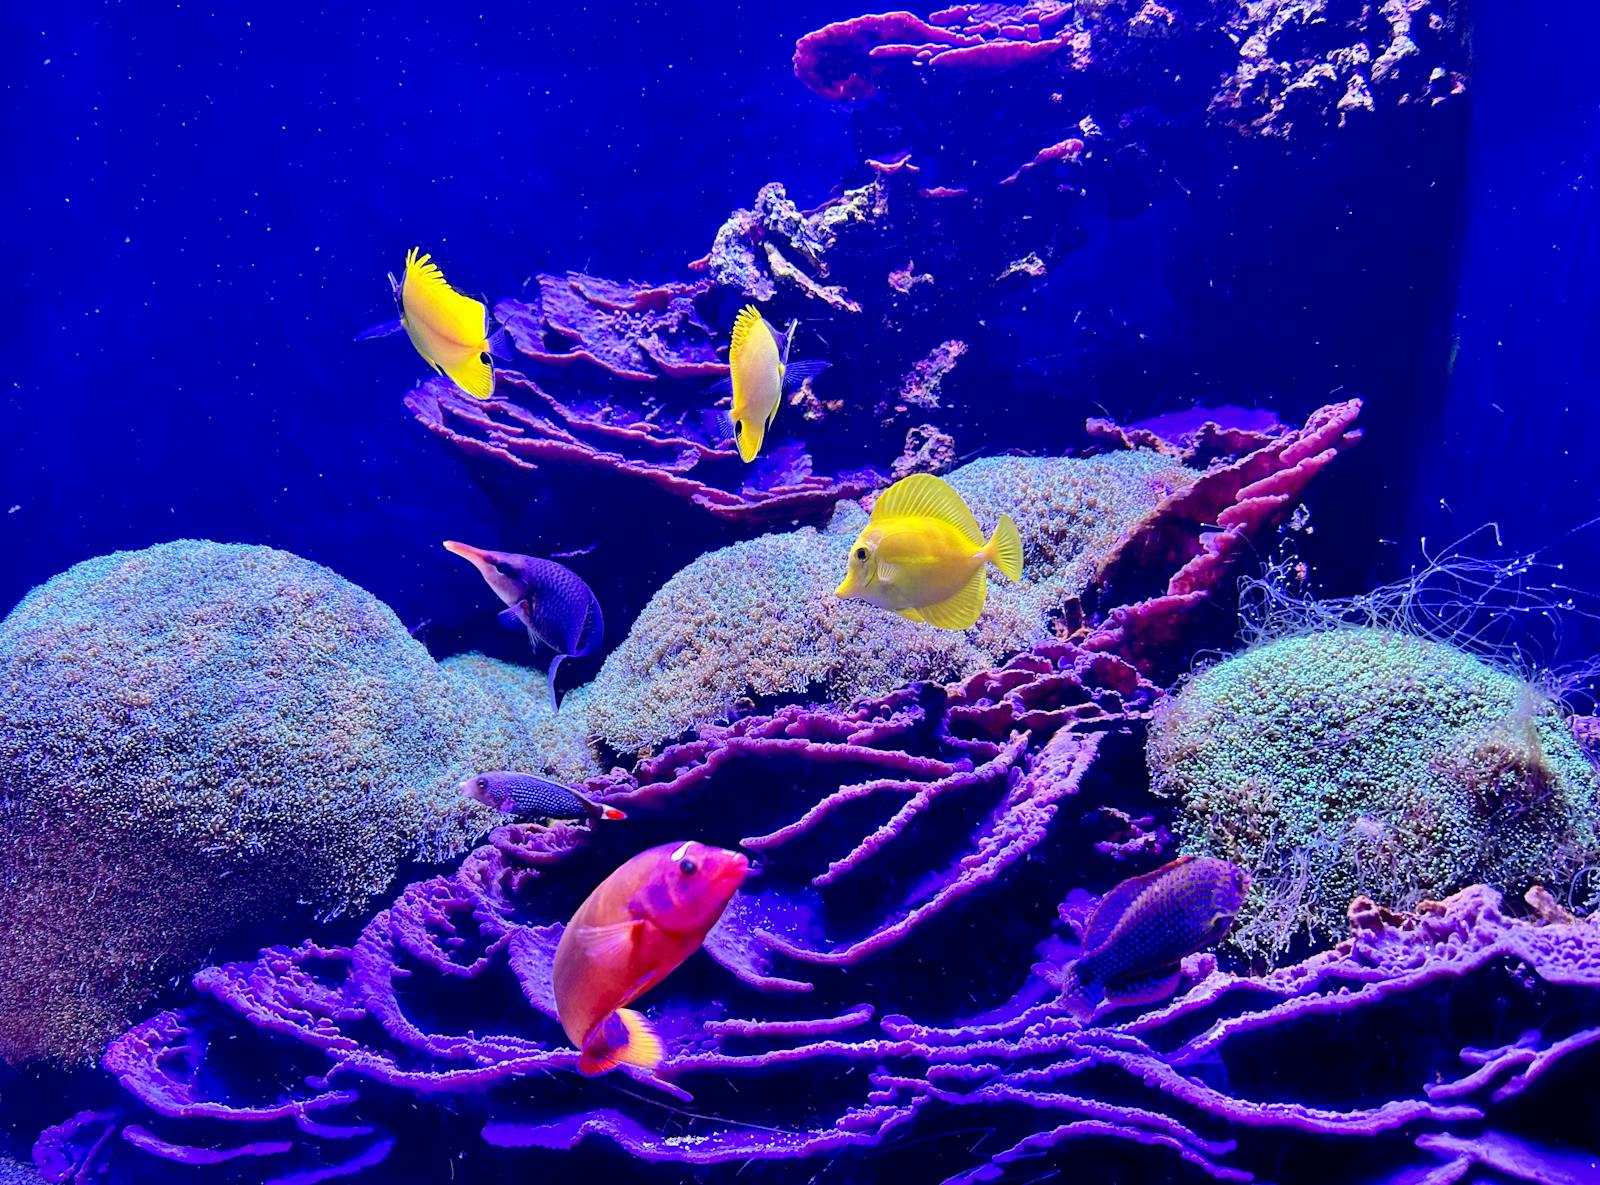
Image: Photo via PexelsA first reef tank needs a suitable tank and stand, saltwater source or RODI plan, reef light, heater with safe wattage, internal flow, filtration or skimmer plan, ATO or disciplined manual top-off, salt mix, test kits, refractometer, rock, sand, and a patient stocking plan. Controllers, dosers, reactors, premium monitoring, UV, and backup pumps can be useful, but they should follow the tank goal instead of bloating the first cart.
If this were my first cart, I would buy the boring stability gear before the fun upgrades: RODI plan, test kits, top-off, heater safety, and enough flow. Those are the pieces that keep a beginner tank from becoming a weekly emergency.
Quick check
- 1Pick the reef goal before choosing gear: soft coral, LPS, mixed reef, SPS, or FOWLR.
- 2Confirm the tank and stand can safely support filled weight, rock, water, and equipment.
- 3Plan light, flow, heat, top-off, saltwater mixing, and testing before optional upgrades.
- 4Check each category against the tank size and reef goal instead of buying by bundle name.
- 5Leave budget for consumables, replacement parts, quarantine basics, and the first 90 days.
Run the connected calculator
This guide's rule math is available as an interactive check. Adjust gallons, goal, tier, and bioload, then pass the result into the planner.
Light, medium, and heavy targets are 113, 150, and 188 gallons of skimmer rating.
Use two heaters around 95 W each, preferably controller-backed.
The 20-40x band gives 1,500-3,000 GPH before aquascape and pump placement.
That aims to deliver 375-750 GPH after about 50% plumbing loss.
For this goal, use the 150-250 PAR band and cover the full 864 sq in footprint.
Monthly consumables often land around $60-$120 before livestock surprises or upgrades.
The math, in plain English
Filled weight
Sizing ruleExample: 75 gallons starts near 623 lb before the stand and hardscape.
This is a floor-load sanity check, not an engineering certificate. It keeps you from treating a filled reef like an empty glass box.
Flow floor
Sizing ruleExample: 75g mixed reef x 20 = 1,500 GPH of useful display flow.
The multiplier makes the equipment list goal-aware. A soft-coral tank and an SPS tank should not get the same powerhead plan.
Heater band
Sizing ruleExample: 75g gives a planning band of about 188W to 375W.
The lower number is about holding temperature. The upper number is about not turning a stuck-on heater into a livestock-killing event.
- Filled system weight starts around 8.3 lb per gallon before rock, sand, stand, and gear
- Flow target = display gallons x 10, 20, or 40 depending on reef goal
- Heater safety band = display gallons x 2.5 to 5.0 total watts
- Skimmer headroom = display gallons x 1.5, 2.0, or 2.5 depending on bioload
Keep the decision connected
Must-have categories
The core equipment list is less about brand and more about system coverage. The tank needs a safe support plan, the animals need stable temperature and salinity, corals need light and flow, and the keeper needs reliable ways to mix water, test water, and top off evaporation.
- Tank, stand, lid or mesh top, rock, sand, salt mix, and water containers.
- RODI unit or a dependable source of RODI water from a local store.
- Reef-capable lighting matched to footprint and coral goal.
- Heater or heaters sized inside the safe wattage band.
- Powerheads or wavemakers for display flow, plus return flow if the tank is sumped.
- ATO or a manual top-off routine that can survive busy days.
- Refractometer, thermometer, ammonia/nitrite/nitrate/phosphate/alkalinity tests, and basic maintenance tools.
Optional upgrades that can wait
A controller, dosing pump, reactor, UV sterilizer, fleece roller, and premium monitor can all be useful, but they are not the foundation of every first reef. Buy them when a specific problem, livestock plan, or maintenance style calls for them.
Why bundles still need a build check
A complete setup can save time, especially for all-in-one tanks, but it does not know your future livestock plan. A bundle that works for soft corals can be short on spread, flow, skimmer room, or upgrade path once the goal changes.
Common mistakes
- Spending the whole budget on glass and lights while forgetting water, testing, and top-off.
- Buying a skimmer, heater, or light by gallons without checking bioload, wattage, and footprint.
- Skipping RODI planning because tap water feels cheaper on day one.
- Forgetting maintenance space around the stand, sump, AIO chambers, and light mounts.
- Adding advanced automation before the basic system is stable and understood.
Buying/spec checklist
- Every must-have category is present before optional upgrades enter the cart.
- The tank format matches the space, floor, noise tolerance, and upgrade path.
- Lighting and flow match the coral goal, not just the tank volume.
- Heating has enough wattage without creating a stuck-on failure risk.
- Consumables and test kits are included in the launch budget.
ReefCrafter may earn a commission when vendor links are used. The check comes first: recommendations should follow the build requirements, not the affiliate program.
FAQ
Do I need a protein skimmer for my first reef tank?
Not every nano or soft-coral reef requires one, but a skimmer adds nutrient-export headroom and oxygenation on many fish-heavy or larger systems. ReefCrafter treats it as a build-specific decision, not a universal yes or no.
Is an ATO required?
An ATO is not physically required, but stable salinity is. On small tanks, daily evaporation can move salinity quickly, so an ATO is often one of the highest-value stability upgrades.
What equipment should I avoid buying first?
Avoid gear that solves a problem you do not have yet: dosing pumps before alkalinity demand exists, oversized reactors before nutrients are understood, and premium controllers before the basic plan is stable.